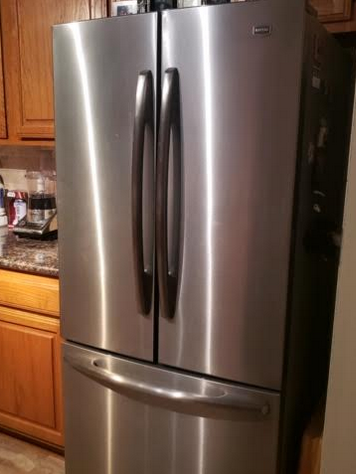
It sometimes makes me ashamed when I hear the crap that some appliance repair companies try to pull. One of my oldest and dearest friends mentioned in conversation that she had problems with her Maytag refrigerator building up excessive moisture in the refrigerator.
The repairman, apparently not an ethical one. Suggested that it was a bad computer board and for around $500.00 they would be glad to replace it.
Happily, she had the good sense to do a little research before she let him proceed and saved herself a lot of money.
To explain, when you see excessive moisture or frost in your refrigerator, there are normally just a few causes for this.
It may be that your defrost heating system has failed and it is allowing the moisture to build up in the unit. It may be that the defrost drain has iced over and is not allowing the water melted off the coils during defrost cycle to drain. Both of these issues normally involve disassembly of the unit and inspection of these components.
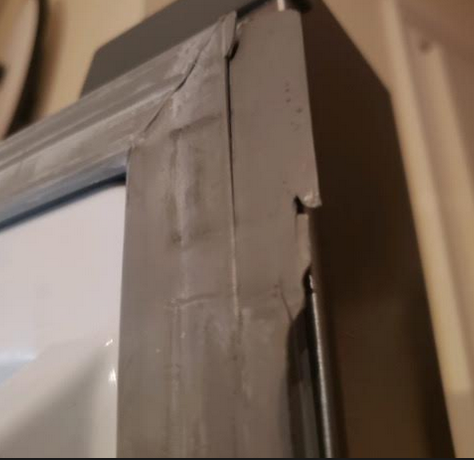
The third cause, and the most obvious, is when you have tears in your door seals as in the case of my friend Donna. ( I apologize for taking so long to get this online for you! ).

When a door seal is torn like this, it allows moisture from the room to accumulate in the refrigerator in great amounts. It also causes your refrigerator to run much more than necessary thereby increasing your power bill and decreasing the life span of the refrigerator.
Donna is hesitant to order the part because she’s afraid she’ll order the wrong one. I can understand that, I’ve done the same thing myself! So I told her I would put a link online for her to order the correct part. Order here!
Also here’s a link to the main parts page for MFF2055YEM00.
These gaskets are fairly easy to install. They set in a channel which runs around the door and they have grooves which hold the seal in place.
To remove the old ones simply dig it out with a small screwdriver ( being careful not to dig into the plastic channel ). Once you’ve got one section loose, you should be able to just peel the rest of it out.
The new ones just press right back into place, but there is a trick to it! Most of the time the new gaskets will be folded during shipping and you’ll notice that they may be crimped at the points they were folded. These crimps can cause the door not to seal properly so we have to address this issue.
To get these crimps out, run a bath tub full of very hot water and let the gaskets soak in it for about half an hour. The heat will restore the seal to it’s original shape and make them more flexible so that they go in more easily.
Be sure to press them in the channel firmly to their full depth, but don’t tear them in the process. I recommend using the eraser end of a pencil to do this.
And that’s it! If you’re trying this and you run into any issues please feel free to comment below with any questions and I’ll answer them as soon as I can!
By Brett Singleton – Blogger and Appliance Repair Expert – Providing Appliance and Home repairs in greater Mount Pleasant SC.